DIY Skincare
HOW TO MAKE HOMEMADE SHAVING CREAM WITH ALOE
Aug
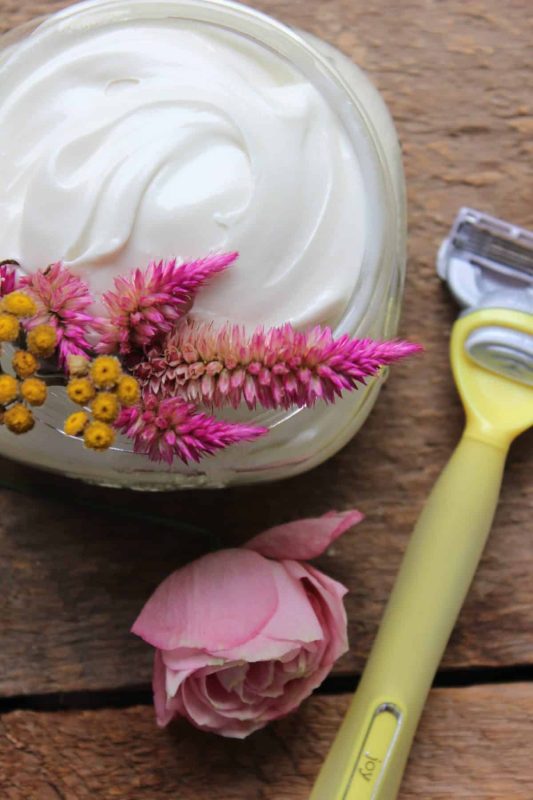
THIS HOMEMADE SHAVING CREAM IS WHIPPED TO PERFECTION. USING ALL-NATURAL INGREDIENTS TO LEAVE YOUR SKIN FEELING SOFT, SMOOTH AND MOISTURIZED.

This post contains affiliate links, which means I make a small commission at no extra cost to you. See my full disclosure here.
After harvesting a bunch of aloe vera from my houseplant to make homemade hand sanitizer, I was eager to come up with more uses for fresh aloe vera. This homemade shaving cream is so nourishing and moisturizing. You may even find yourself skipping the lotion after your shower!
WHY BOTHER WITH SHAVING CREAM?

The purpose for using shaving cream is to prevent any irritation from shaving with a razor. Shaving cream helps the razor to glide better across the skin, resulting in skin feeling soft and smooth, without razor burn!
It’s been years since I’ve purchased store-bought shaving cream. Partially because we used to have a white tub in our old home and the shaving cream cans would always leave a rust ring. Ugh, that used to drive me bonkers! Also, shaving creams seem like an expensive single use item that’s loaded with chemicals!
After trying this homemade shaving cream recipe, I assure you won’t want to switch back to the store bought stuff. The first time I tested this recipe I was in a bit of a rush (shocker) and did not exfoliate before shaving, nor did I put lotion on after. My skin still felt insanely soft and smooth.
HOW TO USE SHAVING CREAM

Did you know that shaving should be the very last step in your shower routine? The warm water from your shower or bath allows skin to soften which will also help to prevent razor burn or irritation. Once your shower is nearing the end, generously apply shaving cream and slowly begin your shaving routine!
Please note, and use caution, that all shaving creams (especially homemade) are slippery when wet. That’s what protects our skin from razor burn, allows the razor to glide nicely and prevents irritation/bumps/redness.
TO EXFOLIATE OR NOT TO EXFOLIATE?

Personally, I like to exfoliate as often as possible. My husband jokes that the amount of body scrub I use in a week is obscene … it’s a good thing I make them all myself!
Exfoliating our skin can be a little irritating at times. It’s important to remember that our skin is more sensitive right after shaving, so exfoliating should always be done prior.
How often to exfoliate is up to you, and depends on your skin type and the areas of your body that you are exfoliating. If you notice redness or sensitivity, give your skin a break for a couple of days.
MAKE IT A SPA NIGHT AT HOME …

If you’re looking for a little bit of self-care right in the comfort of your own home, we’ve got you covered.
Pampering yourself doesn’t need to come with a big price tag, or lots of strange ingredients. Self-care doesn’t need to be complicated. Here is an idea for a spa night at home using all-natural, homemade products.
- Draw a bath, or start a hot shower.
- After your usual cleansing routing, try a homemade body scrub. If it’s fall, you may enjoy this warm vanilla or pumpkin spice scrub.
- Once your skin is exfoliated, it’s time to shave with your homemade shaving cream recipe.
- After the shower, add a little extra nourishment to your skin with a whipped body butter or lotion bar.
For a little added ambiance, you can light some candles, start up an essential oil diffuser, scroll through your favorite blog (I couldn’t resist), grab your favorite magazine or whatever makes you happy.
TOOLS AND INGREDIENTS NEEDED FOR THIS RECIPE

This post contains affiliate links, which means I make a small commission at no extra cost to you. See my full disclosure here.

- Medium-sized pan (to use as a double-boiler)
- Large bowl
- Mixer: for this recipe, I use my stand mixer with the whisk attachment and the beater attachment.
- Coconut oil
- Shea butter
- Aloe Vera
- Essential Oils
- Sweet Almond Oil (substitutions could be olive oil, sunflower oil, vitamin E oil …)
- Jar
HOW TO MAKE HOMEMADE SHAVING CREAM

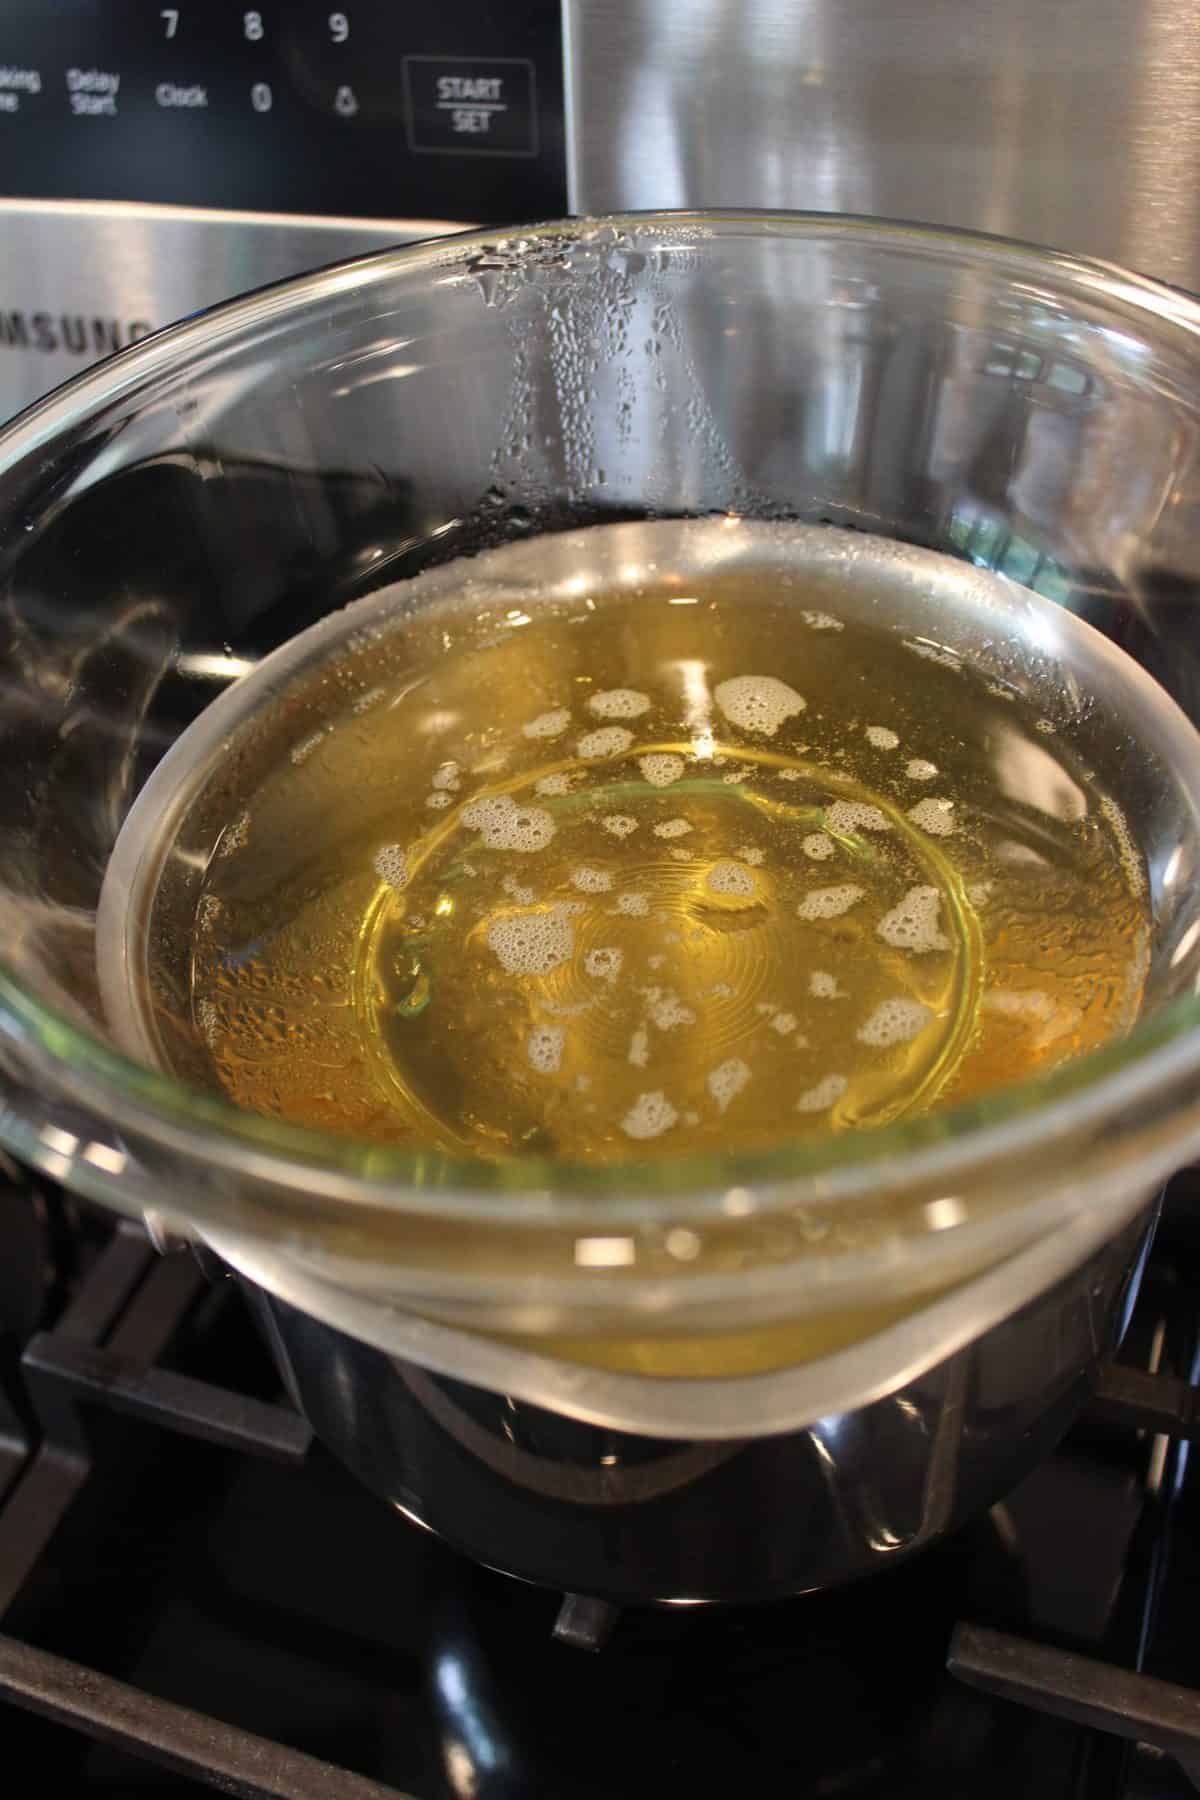
First, you will need to set up a double-boiler in order to melt down the coconut oil and shea butter. A double-boiler can be made by bringing water to a boil in a medium-sized pan on the stovetop. Place an empty bowl into the pan, so that the heat from the boiling water can melt the contents of the bowl. Be sure to use a heat resistant bowl, to prevent any melting.

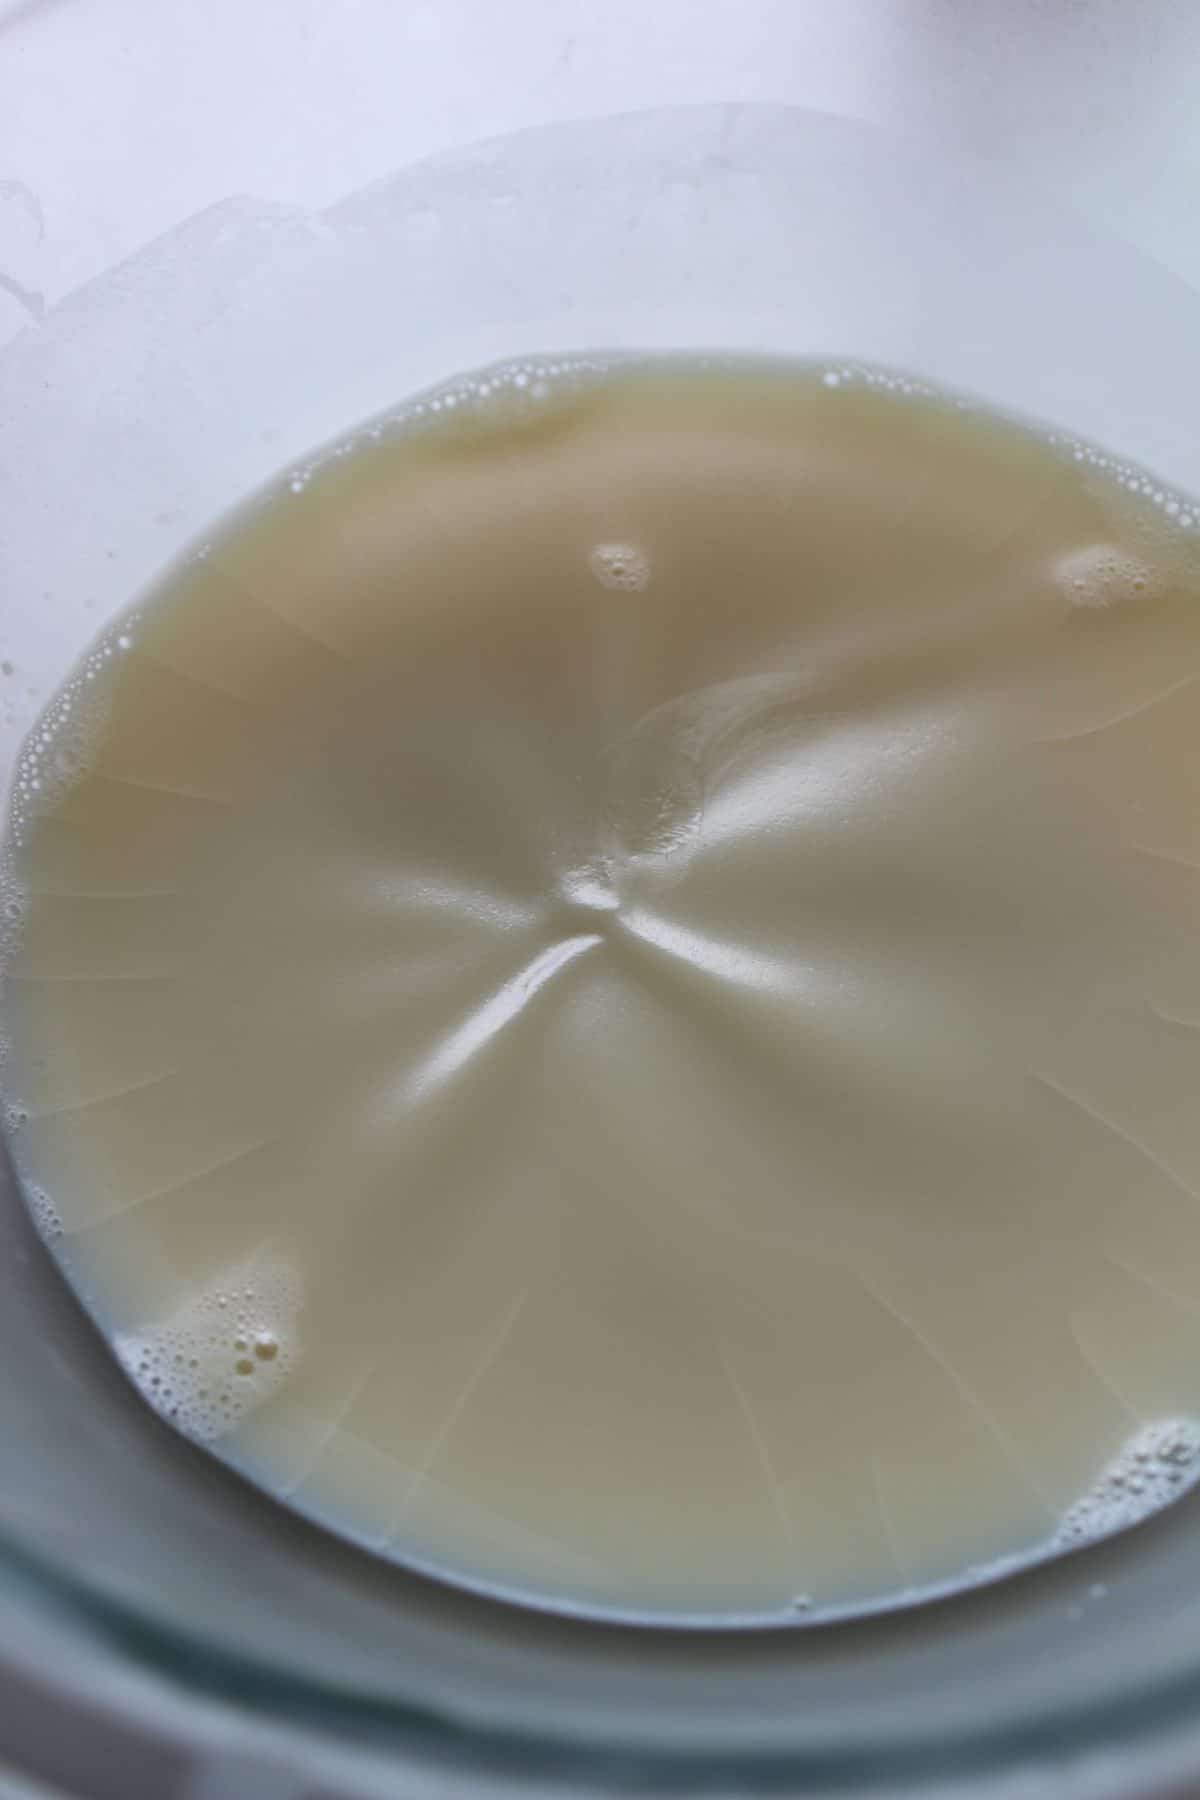
Once cool enough to safely handle, place the mixture into the refrigerator until firm.
Remove the firm mixture from the refrigerator and place it into the bowl of your stand mixer. Use the whisk attachment to beat until it looks like the consistency of traditional shaving cream. The cream will hold it’s shape, but not have hard peaks.

Next, switch your mixer’s attachment to the beater attachment. Add aloe vera, sweet almond oil (or substitute), and essential oils. Mix until well incorporated. The texture won’t change too much, although it will look slightly more wet/shiny.
Scoop into a jar, or other container for storage and use!
PRINTABLE RECIPE CARD

HOMEMADE SHAVING CREAM (WITH ALOE VERA)
This homemade shaving cream is whipped to perfection. Using all-natural ingredients to leave your skin feeling soft, smooth and moisturized.
INGREDIENTS
- 1/2 C Coconut Oil
- 1/2 C Shea Butter
- 3 TBSP Aloe Vera
- 1/2-1 tsp Sweet Almond Oil (or substitute)
- 20 drops of essential oils
INSTRUCTIONS
First, you will need to set up a double-boiler in order to melt down the coconut oil and shea butter. A double-boiler can be made by bringing water to a boil in a medium-sized pan on the stovetop. Place an empty bowl into the pan, so that the heat from the boiling water can melt the contents of the bowl. Be sure to use a heat resistant bowl, to prevent any melting.
Once cool enough to safely handle, place the mixture into the refrigerator until firm.
Remove the firm mixture from the refrigerator and place it into the bowl of your stand mixer. Use the whisk attachment to beat until it looks like the consistency of traditional shaving cream. The cream will hold it’s shape, but not have hard peaks.
Next, switch your mixer’s attachment to the beater attachment. Add aloe vera, sweet almond oil (or substitute), and essential oils. Mix until well incorporated. The texture won’t change too much, although it will look slightly more wet/shiny.
Scoop into a jar, or other container for storage and use!
Thank you for visiting the farmhouse today! We love creating homemade, all-natural skincare to share with you. In the comments below, please share what types of homemade skincare products you would like to see us create! We love a challenge!
Linked to: Homestead Blog Hop 305 (Simple Life Mom), Simple Homestead Blog Hop 275 (Oak Hill Homestead), Tuesday Turn About 65 (My Wee Abode), Home Matters Linky Party 301 (Modern on Monticello)